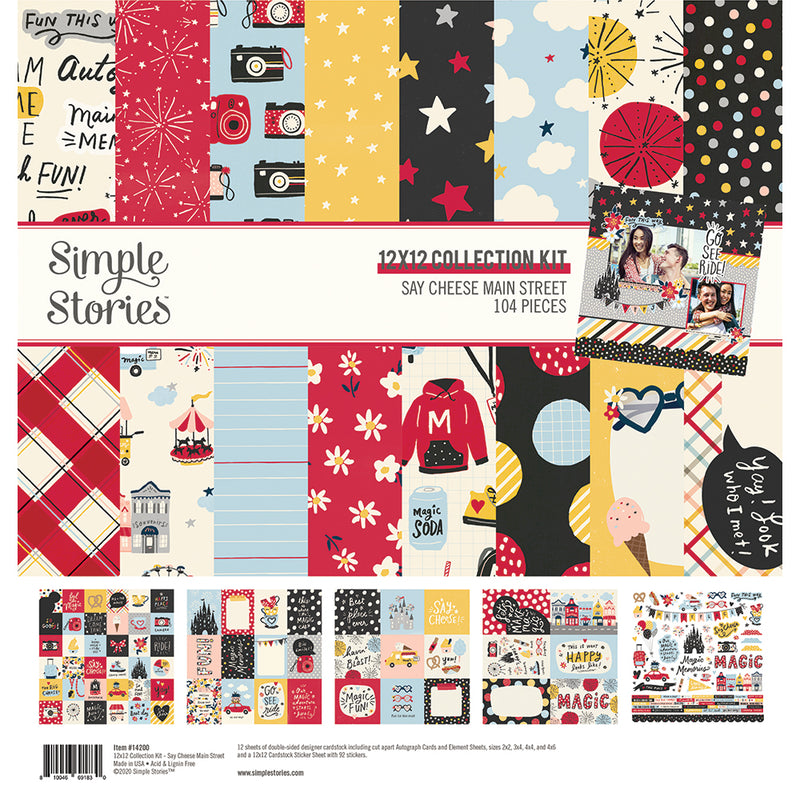
Hi everybody! I’m so happy and excited to be back! I’m Celes from GuiadeManualidades.com and today I have a wonderful project to share with all of you. Since I saw “Main Street” I have fallen in love with it. It’s a lovely collection, full of amazing details and products I love. You work with it and immediately feel like you are at Disney! So… As I love the happiness and memories I have there I decided to make a double cover shaped album. One side for Minnie and one side for Mickey YAY! Let’s get started!

First thing to do is to find a pattern of the Minnie/Mickey to make both covers. You can find a lot of them on the internet. As I have the ScanNCut cutting machine, I used the Canvas to adapt the design. I modify the base of Minnie/Mickey head because that will be the spine of the album. I made a base of 3” w. Besides, I decided to make two covers with three shakers…I love shakers! So I duplicated the design, resized it and made pieces for foil paper, foam and acetate.

For the structure of the album we need 3 pieces of cardboard of: 1- 9 1/2” w x 9” h (two pieces, approximate final size), 2- 3” w x 2 3/4” h (one piece). To cover all of them I used two design papers from the collection kit.
Besides, I made a basic spine. For making it cut a piece of textured cardstock paper of 12 1/2” w x 2 3/4” h. Then you have to scored it in 2”, 2 ½”, 3”, 3 ¼”, 3 3/4”, 4”, 4 1/2”, 5”, 5 1/2”, 5 3/4”, 6 1/4”, 6 3/4”, 7”, 7 1/2”, 8”, 8 1/4”, 8 3/4”, 9 1/4”, 9 1/2”, 10”, 10 1/2”. As a result you are going to have a classic spine with 7 hinges. To decorate the spine, cut strips of design paper and of foil paper. It’s a lovely detail and it combined with both covers.
Glue all pieces together to make the mini album structure. After this, you can glue the spine in place and remember to add the ribbon.
For both covers:
As I told you, I made a Minnie cover and a Mickey cover. Each one has special details such as bows and colored sparks for the shakers. I added chipboards stickers and self adhesive brads to complete the decoration. As I always tell you, remember to play with all you have ;)


To close the album:
I made a closure with magnets and foil paper. Remember to cut some extra paper pieces and glue them in layers.
For the interior:
Time to decorate our mini album! And the special shape is the protagonist. I cut 14 pages and made special structures for all of them. I even used the layered frames: one for Minnie side and one for Mickey side.
This is the part I love because you can make any structure you like and this mini album has a lot of space for photos.
Choose all the papers you are going to use to decorate and prepare every page. Use all you have to decorate… die cuts, stickers, chipboards, washi tapes…


I hope you like this idea and fall in love with it! Dare to create different and original things ;)
Have a great week!


3 comments
Can we get a cut file to make an album similar? or can you do a chipboard album for purchase?
Your book is stunning! Wow! I enjoy making my on albums and this one is perfect.
I love it, can we somewhere get the base of the album to cut it On our Own machine