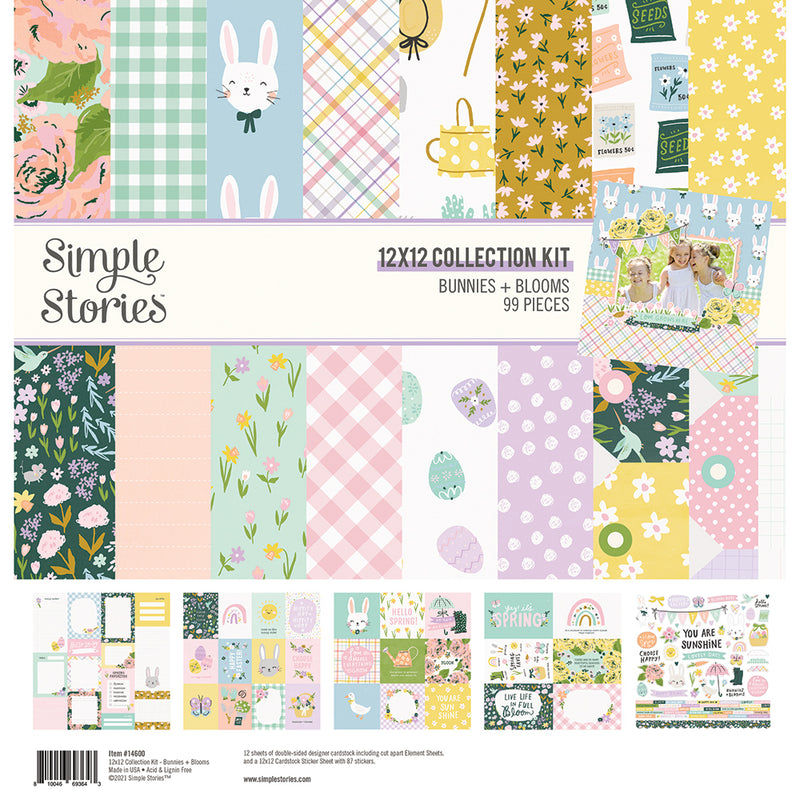
Hi crafters! It’s so good to be back! And this time everything is full of flowers, eggs and bunnies… Spring and Easter are coming! YAY! I’m Celes from GuiadeManualidades.com and today I would like to invite you to create with the lovely “Bunnies + Blooms” Collection… the most sweet and wonderful collection of all!

Let’s get started! For the structure of this album you will need 3 pieces of cardboard of: 1- 7” w x 7” h (two pieces), 2- 2” w x 7” h (one piece). To cover all of them I used three design papers from the collection kit + white cardstock and one washi (back cover)
Glue all pieces together to make the mini album structure. After this, remember not to add the interior papers. We need to add the album closure.
For the cover:
Glue all pieces together to make the mini album structure. After this, remember not to add the interior papers. We need to add the album closure.
For the cover:
Isn't it sweet! It’s a beautiful, colorful and fun cover. I look at it and I just can't stop smiling!
To make it I prepared a chipboard frame of 6” w x 6” h and a frame thickness of 1/2 “. I covered it with a design paper. Besides I chose one of the illustrations from the 6x8 Pad.
I placed and glued it in the center of my cover and then I added chipboards stickers, paper flowers and enamels dots.
To make it I prepared a chipboard frame of 6” w x 6” h and a frame thickness of 1/2 “. I covered it with a design paper. Besides I chose one of the illustrations from the 6x8 Pad.
I placed and glued it in the center of my cover and then I added chipboards stickers, paper flowers and enamels dots.


To decorate the spine, I used one chipboard sticker and one die cut from the “Journal Bits”

Album closure:
Let´s prepare the closure! To make it I used two brads from past collections and white elastic cord. Choose two design papers: one for the spine and the other for both covers. DON´T ADD the interior paper of the front cover. Glue the spine paper and the back cover paper.
To add the elastic cord I used two wide eyelets. In the case of the back cover, you should add the eyelets AFTER adding the interior design paper.
To add the elastic cord I used two wide eyelets. In the case of the back cover, you should add the eyelets AFTER adding the interior design paper.

Add the brands to the front cover and once you have done this, you can add the interior paper of the front cover.
Time to make and decorate our mini album!
For the interior:
Pockets and Cards:
Pockets and Cards:
For both covers I made two pockets. I wanted to fill them with the lovely cards from the Simple Cards Kit… they are great! It’s an easy and beautiful way to add amazing details to your projects. And it’s extra space for memories and photos too.
Every pocket have 6 3/4” width, 3 1/2” height, 1/2” depth. You can decorate them with washi tapes, foam stickers and enamel dots.
Prepare all the cards and add them to both pockets. They look stunning!
Every pocket have 6 3/4” width, 3 1/2” height, 1/2” depth. You can decorate them with washi tapes, foam stickers and enamel dots.
Prepare all the cards and add them to both pockets. They look stunning!


Pages:
Besides the two pockets, I prepared three groups of pages for this mini album. You can add them to the spine just punching the spine and sewing the pages to it.
I didn’t follow the same size for all pages. I just played with the measurements ;) To decorate them I used all I had… die cuts, stickers, chipboards, washi tapes, and adhesive brads.
Besides, you can make special structures if you like. Easy and simple but with plenty of space for pictures.
I didn’t follow the same size for all pages. I just played with the measurements ;) To decorate them I used all I had… die cuts, stickers, chipboards, washi tapes, and adhesive brads.
Besides, you can make special structures if you like. Easy and simple but with plenty of space for pictures.


Have a lovely Easter!


1 comment
Hi I love this range. Do you have pictures of each indiVidual card?