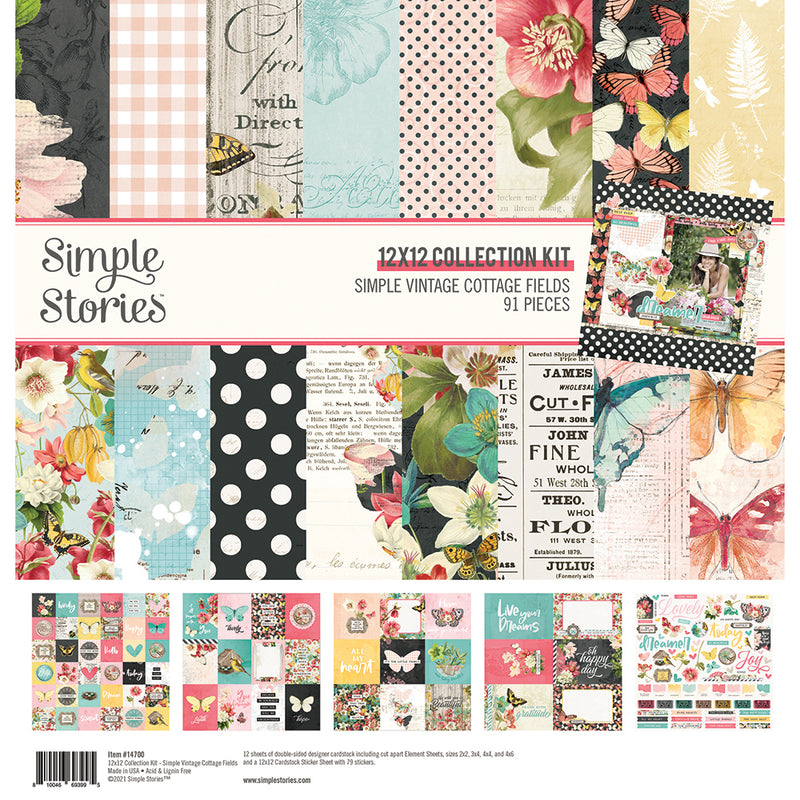
Remember the days of notes tucked in your lunch box or at your desk? A little reminder that you're loved and to have a good day. Well today I'm sharing an idea that many different ideas can be drawn from! I've crafted a handy paper card box from scratch, but you could also use a pre-made box or other materials to achieve a similar look. To the inside of the box I've added an assortment of 2x4 cards that can be given to inspire and brighten someone's day!


The box may look a bit difficult, but hopefully the YouTube video will help!
For the box: I cut two 3X5 pieces of very light chipboard (I used the insert from a package of stickers; a cereal box would also work) and rounded the edges. Next, I cut papers of the same size from the 6X8 Paper Pad and attached them to just one side of the chipboard. Set these pieces aside and let's work on the sides.
For the sides of the box: I cut two pieces of 2"X12" paper and scored each one 1/2" lengthwise. Next, I cut small slits into the paper up to the 1/2" score line and then folded along the score line. From the under-side of the chipboard piece, I glued the sides to it with the 1/2" strip; the slits cut into the paper will allow the paper to form without bending. After adding the pom pom trim to the top lid, I lined the inside the box with more patterned paper.
For the back of the box: Now that I have the top and bottom of the box completed, I need to join the two together. I cut a piece of patterned paper to 7"X5" and scored in 1" around all sides. The ends were cut into tab and the very center of the paper was scored to create a hinge. I glued the tabs to the top and bottom (inside) of the lids and then covered with additional patterned paper to give a finished look!


With the box complete, I made five dividers using heavy cardstock, patterned paper and a die-cut. Each of the pieces were dressed and embellished! Next, I cut apart the 2X2 Elements Paper into 2X4 strips (following the design; yields 18 rectangles). I used various chipboard stickers, foam stickers, die-cuts, adhesive brads and stickers to embellish each of the cards. The cards were filed away behind the corresponding tab so they're easy to find!


Again, I hope that you'll visit the YouTube tutorial for this so you can see just how easy this box is to put together!
Thanks for joining
Shellye


2 comments
Such a pretty idea! What die did you use to make the dividers?
Hi, please could you let me know which die cut you used for the i side pieCes pleass