
For the wood house:
This time I decided to do something different. As the collection has so many beautiful embellishment, like the flowers and butterflies. As I had a lovely shaped house wood stand, my idea was to decorate it, and prepare a journaling album for myself and to add a back pocket for a flip book. You can use any design stand you like. The idea is to prepare a journaling album depending on the size and shape of your stand.

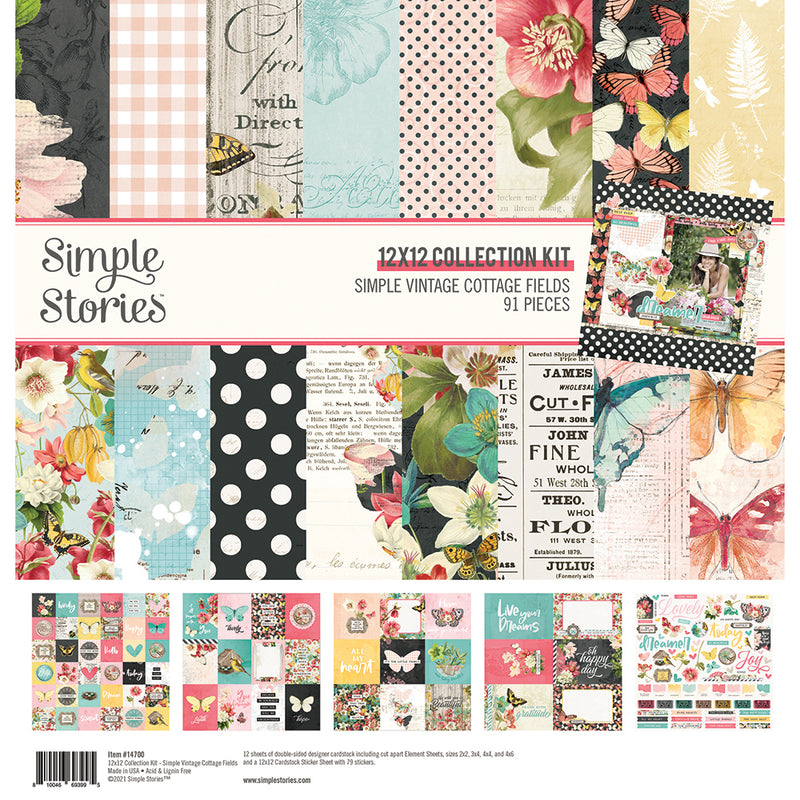
First thing to do is to decorate the wood house. I chose 5 papers from the collection kit and from the simple basics kit. I used Tacky for gluing all of the pieces.

To decorate the roof of the house I used a heart punch (1”) and two papers from the basic kit. I love this detail! It takes time but it is really worth it ;)
For the Album:
As I told before, the size and shape of the album depends on your stand. In my case I prepared a structure of 6” w x 7” h. For the structure I cut 3 pieces of cardboard of: 1- 6” w x 7” h (two pieces), 2- 2 1/4” w x 7” h (one piece). To cover all of them I used two design papers from de collection kit + one from the basic kit.

Then glue all of the pieces together to make the mini album structure. After this, remember not to add the interior papers. We need to add the closure.
Cover:
Simple but sweet and colorful! Love this cover!

To make it I used a chipboard frame and some die cuts from the Bits & Pieces pack and the Floral Bits & Pieces pack. Then I added two words from the foam stickers pack.
Another detail I added was white watercolor. Small drops everywhere! Don’t you like these details?
Closure:
Let´s prepare the closure! To make it I used a soft pink ribbon and I chose two design papers: one for 3/4 of the interior and the other one to make two pockets of 4” w x 7” h.
Back pocket for the flipbook:
At the back of the house, I added a pocket for a 4x6 flipbook. It’s like a hidden detail for those special photos ;)

I decided to use a soft pink heavy paper and I made a pocket of 5” width, 4” height, 3/4” depth.

For the cover of my flip book I combined a chipboard frame, some layered stickers and added a foam sticker. With that, I ripped some color paper for the inside of the frame.
Exterior details:
You can see that as a special detail I cut a garden fence using one of the papers from the basic cut and my ScanNcut. I glued it around the house using foam dots and I added flowers and butterflies to it. It’s amazing how it looks!

For the interior of the album:
Pockets:
For both covers I made two pockets. I’m planning to put all the beautiful cards from the Simple Cards Kit from this collection. They are soooo sweet! I love them because they give me extra space for photos and for writing memories. I decorated them with foam stickers.

Journaling books:
Beside the two pockets, I prepared two journaling books using the papers from the collection kit. You can add them to the spine by just punching the spine and adding eyelets and elastic cord. The size of them are 5 3/4” w x 6” h.
To decorate the covers I used all I had… die cuts, stickers, chipboards, washi tapes, adhesive brads. Besides, you can make special structures for them if you like.


What do you think of this project? I hope you like it!

Have an amazing weekend! See you soon!


2 comments
Incrediable!!!
This is the most stunning little project! Love the details from the roof shingles to the torn edges.
Lovely!